Key Takeaways
- Assess your ceiling’s condition thoroughly to identify structural issues, water damage, or hazardous materials like asbestos before starting any renovation.
- Prioritize safety and compliance by obtaining necessary permits, following building regulations, and using protective gear, especially in older apartments.
- Use lightweight, apartment-friendly materials and tools to ensure safe installation without compromising structural integrity.
- Proper surface preparation—including cleaning, patching, and sanding—is essential for a flawless finish and long-lasting results.
- Incorporate practical design enhancements, such as modern lighting and light-reflective paints, to improve both style and functionality in small spaces.
- Communicate your renovation plans with property management and neighbors to minimize disruptions and ensure project approval in multi-unit buildings.
When I first looked up at my apartment ceiling and saw those cracks and stains, I knew it was time for a change. Renovating a ceiling might sound overwhelming but with a little planning and the right tools, it can actually transform the whole vibe of a room.
I’ve learned that updating a ceiling isn’t just about fixing flaws—it’s a chance to add style and personality to your space. Whether you’re dealing with popcorn texture, water damage, or just want a fresh look, there’s a way to make it happen without breaking the bank. Let me walk you through how to tackle this project step by step so you can enjoy a ceiling you’ll love looking up to every day.
Understanding Apartment Ceiling Renovation
Renovating an apartment ceiling means balancing practicality and aesthetics within limits set by building rules and structural layouts. I always assess ceiling height, texture, and any existing features like lighting or sprinkler systems before planning updates. Properties built before 1980 often have popcorn ceilings, which may contain asbestos—professional testing is necessary before disturbing these surfaces. Leaky pipes, poorly installed insulation, or structural settling can cause ceiling stains or cracks; identifying the source lets me craft lasting repairs.
Every unit in a building shares walls, floors, and ceilings, so I always coordinate noisy work with building management and neighbors. Apartment ceilings commonly hide electrical wiring, HVAC, and plumbing, so I check access panels and building plans to avoid damaging these elements during demolition or installation. Lightweight materials like drywall, tiles, and suspended designs keep weight down and installation safe in multi-story buildings.
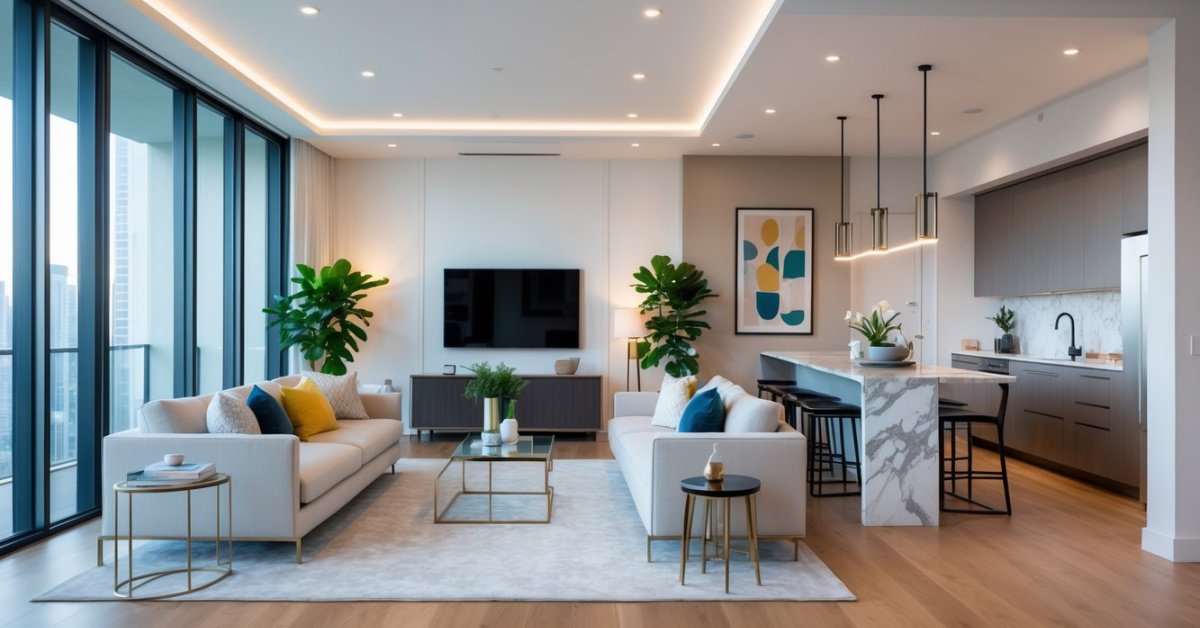
Storage, acoustics, and modern lighting are popular ceiling upgrades in apartments. Installing recessed LED panels, creating faux beams, or choosing light-reflective paint boosts style while making the space feel larger. Budget-friendly choices—like simple patching, smooth finishes, or affordable drop-tiles—update the look without requiring heavy construction. Each ceiling project gets mapped out per space, restrictions, and the client’s goals, so every design improves value as well as appearance.
Assessing the Condition of Your Ceiling
Checking the ceiling’s current state lays the foundation for any successful renovation. I always start here to avoid surprises that derail timelines or budgets.
Identifying Common Ceiling Issues
Spotting visible imperfections in an apartment ceiling reveals a lot. Cracks often point to settling structures or water leaks. Yellow stains usually suggest ongoing water intrusion, especially around plumbing lines or after storms. Peeling or bubbling paint occurs when moisture gets trapped, a frequent problem in older buildings with insufficient ventilation. Sagging areas may signal structural movement or overloaded floors above. In my renovations, I test each suspicious spot using a flashlight and gentle tapping to determine damage depth.
Determining the Scope of the Renovation
Defining how much work the ceiling needs helps set project goals and expectations. Patching minor cracks and priming over small stains counts as cosmetic updating. Full-scale renovations—such as leveling uneven surfaces, removing textured finishes, or replacing large panels—require more time and materials. I always check the ceiling’s construction type; concrete, drywall, and plaster need different repair methods. For any sign of mold, asbestos, or recurring leaks, I consult building professionals before proceeding. Accurate assessment keeps my schedule and budget on track, especially in compact apartment spaces where each detail counts.
Preparing for the Renovation Process
Every ceiling renovation in an apartment starts with good planning. I always prep and organize everything before the first hammer swings.
Tools and Materials Needed
I gather all ceiling-specific tools and materials before I start. Typical items I use include:
- Drop cloths and plastic sheeting: Protects floors, furniture, and fixtures from dust and debris.
- Ladders or step stools: Reaches ceilings safely in standard 8- or 9-foot rooms.
- Dust masks and goggles: Shields my face and eyes from dust, old plaster, or airborne particles.
- Stud finder and utility knife: Locates ceiling joists and scores old paint or texture.
- Joint compound, putty knives, and sanding blocks: Handles crack repair and surface smoothing.
- Primer and paint (ceiling-specific): Ensures even coverage and lasting finish on any ceiling type.
- Painter’s tape and paint rollers: Delivers crisp lines and speeds up ceiling painting.
In older apartments I add a respirator and asbestos testing kit for popcorn ceilings. For new lighting, I include a voltage tester and wire strippers.
| Tool/Material | Purpose |
|---|---|
| Drop cloths/plastic | Floor and furniture protection |
| Ladders/step stools | Safe ceiling access |
| Dust masks/goggles | Health and eye safety |
| Stud finder/knife | Joist location, trim paint or plaster |
| Joint compound/tools | Patch cracks, smooth finishes |
| Primer/paint | Even, durable ceiling coverage |
| Painter’s tape/rollers | Clean paint lines and faster painting |
| Respirator/asbestos kit | Popcorn ceiling safety (pre-1985 ceilings) |
| Voltage tester/tools | New fixture installation safety |
Safety Precautions and Regulations
I follow all safety steps and regulations for apartment ceiling renovations. In pre-1985 buildings I always check for asbestos before disturbing textured ceilings. If I suspect mold or see extensive water damage, I bring in licensed specialists before starting any repairs.
For multi-unit buildings I get written approval from property management and review HOA or building codes. Many apartments restrict noisy tools, dust-generating work, or disposal of debris. I schedule my renovation for allowed hours and notify neighbors in advance.
I turn off the power at the circuit breaker before removing light fixtures or cutting into the ceiling. With structural or load-bearing elements, I consult a professional engineer, since changes could impact the whole building.
In every step, I balance safety, compliance, and preparation to keep my project smooth and preserve the value of both the apartment and the building.
Step-By-Step Guide: How to Renovate an Apartment Ceiling
Every successful apartment ceiling renovation relies on clean preparation, the right finishing technique, and sharp attention during the final steps. I always break this project down into clear stages to maximize efficiency and results.
Cleaning and Repairing the Surface
I always start by cleaning the ceiling thoroughly, using a vacuum with a brush attachment or a microfiber duster for dust buildup. Grease-prone kitchens and older units (built before 1980) usually need a degreasing cleaner or warm, soapy water to remove surface grime. After drying the surface completely, I inspect for cracks, nail pops, and water stains.
I patch hairline cracks or small holes with a high-quality joint compound, using a putty knife and feathering out edges for a seamless look. Large cracks, water-stained zones, or sagging sections require a closer look—these often point to leaks or structural issues, so I bring in a licensed specialist if I see persistent yellow stains, mold, or active water. Once repairs dry, I sand the patched spots smooth with 120-grit sandpaper and wipe the whole area down with a damp cloth before moving on.
Applying New Finishes or Textures
Finishes can make a ceiling look brand new—even if square footage is tight. I usually prime the ceiling first, using a stain-blocking primer for surfaces with old stains or previous water intrusion. For classic smooth ceilings, I use lightweight joint compound and a wide trowel to even out the surface. In properties with character, I add subtle texture with a roller or sponge (knockdown, orange peel, or skip trowel styles all work well in apartments built after 1980, as older popcorn may contain asbestos).
I always keep ventilation going to help finishes cure quickly, and I use drop cloths to protect flooring and furniture from any dust or drips.
Painting and Final Touches
Painting is where the ceiling transformation becomes visible. I use a high-quality, flat ceiling paint in a bright white shade to reflect more light, making even compact apartments feel bigger. For accent details, I pick soft tints or add subtle trim lines around the perimeter. I use an angled brush to cut in at edges and a roller with extension pole to reach the larger sections quickly.
After painting, I reinstall light fixtures, ceiling fans, and smoke detectors, making sure to double-check wiring before turning the power back on. In my projects, I always spot-check for missed spots or touch-ups in daylight, since apartment lighting can hide minor flaws at night. I tidy up the workspace and remove all coverings and tape, leaving a clean, renewed ceiling as the final result.
Tips for a Successful Ceiling Renovation
- Start with Meticulous Assessment
I always inspect every inch of an apartment ceiling before picking up any tools. Surface stains, watermarks, and cracks—examples like yellowing around HVAC vents or fine web-like cracks—signal different issues. I document these with photos for reference during each phase.
- Prioritize Safety and Regulations
I confirm safety on every apartment project, especially in older buildings with popcorn ceilings or lead paint. I always check local code, schedule professional asbestos testing if the property dates pre-1980, and get proper permits or HOA approval for any invasive work.
- Select Suitable Materials
I focus on lightweight options to reduce extra load on older structures. Seamless drywall panels or decorative ceiling tiles work well in apartments—products like Armstrong or USG tiles provide modern looks without heavy installation. I avoid heavy beams when working over shared joists.
- Invest in Professional Tools
I rely on quality rollers, pole sanders, drop cloths, and high–lumen LED work lights. Using brands like Purdy or Wooster for brushes and compound knives makes every finish crisper and cleanup faster.
- Plan Lighting and Fixtures Strategically
I always coordinate ceiling light plans with the room’s function. Recessed LEDs, track lighting, or flush mounts—products like Lithonia or Halo—open up small rooms and give my finished ceiling a custom touch. I double-check that all wiring remains accessible.
- Adapt Finishes for Small Spaces
I prefer flat or matte paint for most apartment ceilings to minimize glare and flaws—Sherwin-Williams Eminence or Benjamin Moore Ceiling Paint work well. For low ceilings, I use lighter shades to create a feeling of height, skipping heavy textures that box in the space.
- Schedule Smart and Protect Your Space
I map out work to minimize noise and mess during peak building hours. I tape off every corner with painter’s tape, cover furniture with plastic, and set up a portable HEPA filter for dust control. I always communicate plans to neighbors in multi-unit buildings.
- Stay Flexible and Creative
I pivot designs if I run into hidden pipes, crooked joists, or unique architectural features. Unexpected details can become design advantages—exposed beams can get painted crisp white for contrast or turned into a lighting feature instead of boxed in.
- Double-Check Every Step
I walk the ceiling with my punch-list after every phase. I make sure repairs blend seamlessly and no wiring or plumbing has been disturbed. My final walkthrough always includes a check with natural daylight to spot hidden flaws.
These strategies help every ceiling renovation I tackle stay smooth and stylish, ensuring the finished product looks intentional and elevates the apartment’s entire design.
Conclusion
Renovating an apartment ceiling can feel like a big project but the results are always worth it. I’ve found that a little patience and attention to detail go a long way toward transforming the whole space. Every ceiling has its quirks so don’t be afraid to get creative and make choices that reflect your style.
Taking the time to plan and prepare makes the process smoother and helps avoid surprises. If you ever feel unsure about a step or run into unexpected issues there’s no shame in reaching out to a pro. With the right approach you’ll end up with a ceiling you’re proud of—and a room that feels brand new.